- Prepare the Triangle File
Open the Design/Animation Window. If the user has grid layer instead of direct triangle file, user needs to create the triangle first from the design layer before it can be shown through the Triangulations menu. To create the triangulation, it can be done by doing the right click on the grid file, then select Triangulate as below:
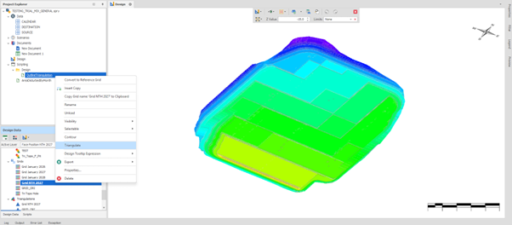
- Create Triangulation File
After that, the user can determine the name of the triangulation file and its default color:
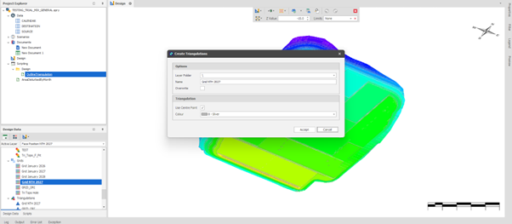
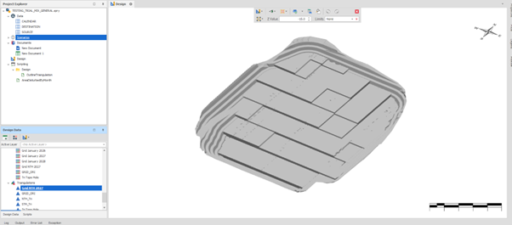
Later, the triangulation file will be successfully created as below.
- Activating Unsupported Utilities Tools
To create Boundary Polygon, users need to use script, because this feature only available via scripting.
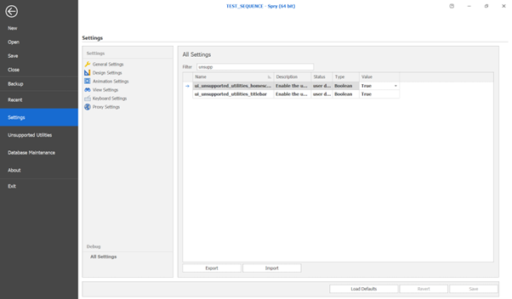
Make sure “Unsupported Utilities Tools” has already been enabled by open All Settings – activate Unsupported Utilities Tools
- Download Outline Triangulation Script
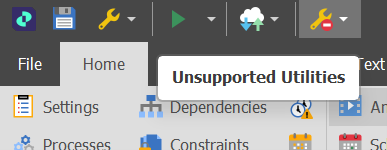
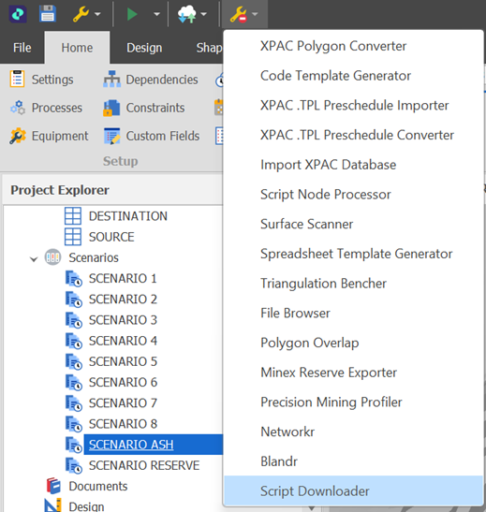
After Unsupported Utilities has been enabled, click that tools and select Script Downloader
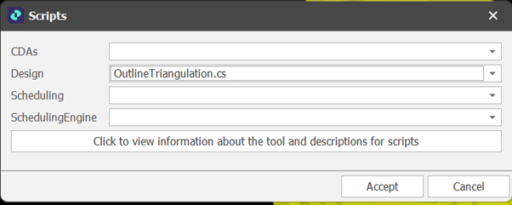
In Design Field, select the OutlineTriangulation.cs and accept it.
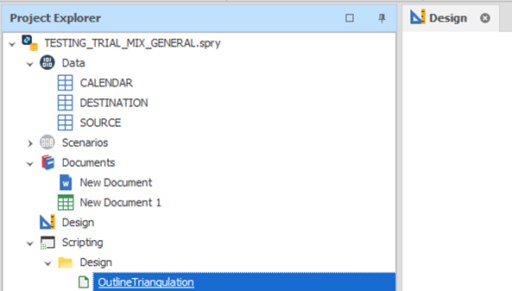
Make sure the Outline Triangulation function has already appeared in the scripting section
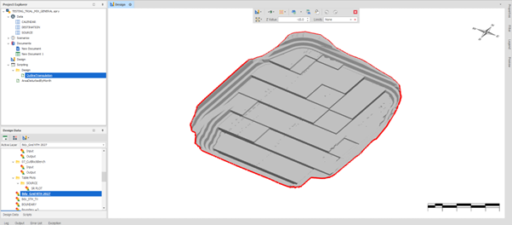
- Creating Boundary Polygon
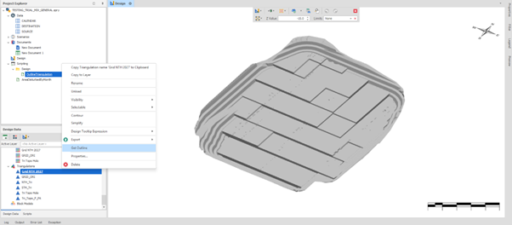
Do the right click on the imported triangle file. Then, choose Get Outline
- Final Result
Boundary Polygon will be formed automatically and will appear in the Layers Section with the name of the file/layer will be exactly the same as the imported triangle file (that bpundary file can be renamed later) like below: